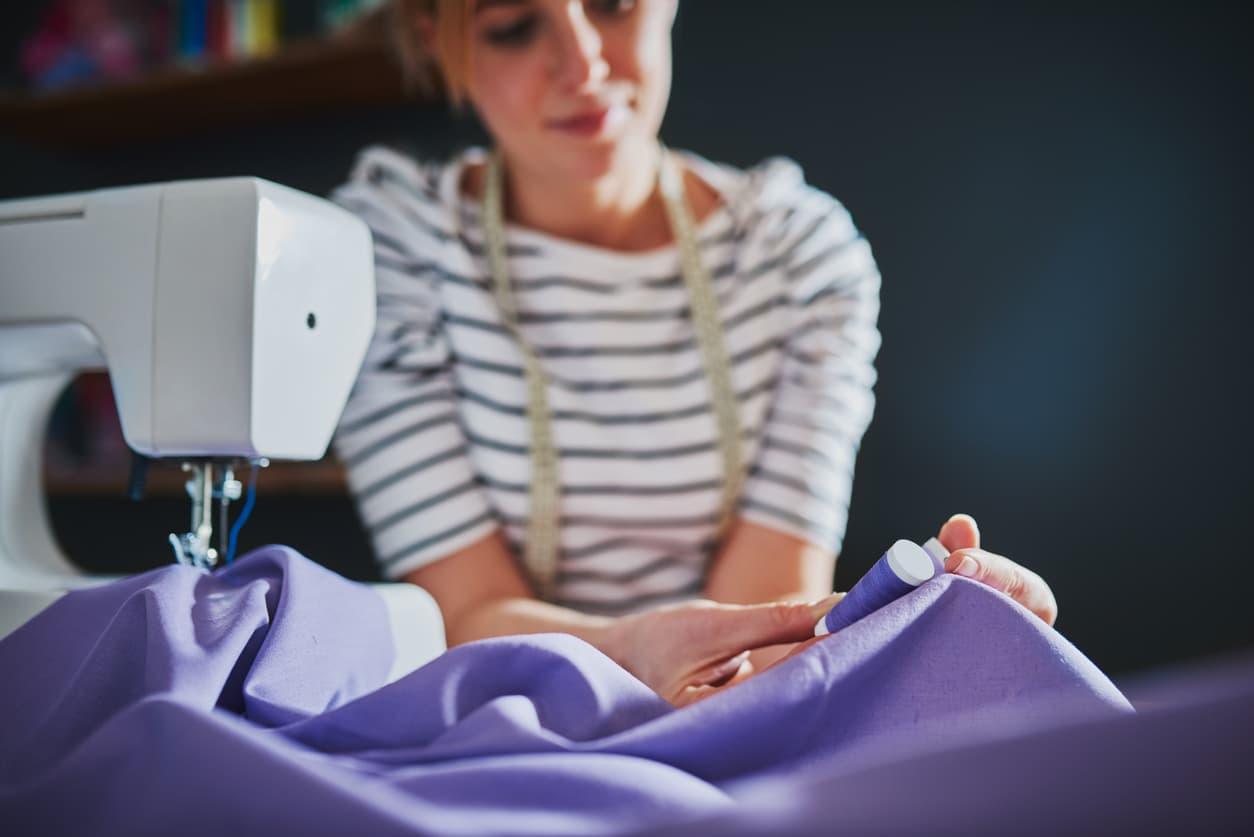
Blankets are so much more than just sewn-together fabric. Yes, they keep us warm, but certain blankies, babas, and binkies play a vital role in our lives. They offer comfort and have a calming effect. Filling this role can take its toll and result in wear and tear.
Even with fraying, rips, holes, torn seams, or worn spots—these tips on how to repair a blanket can help you keep it around for years and years.
Types of Blanket Repair
Your blanket repair will depend on the material and construction of the original blanket and what end result you desire. Different types of blanket repairs include:
Patchwork
Patching works well with sewn blankets, like a cotton quilt or a fleece blanket; any blanket made with a solid, non-woven material. You can try to match the rest of the blanket as closely as possible or go with contrasting colors or patterns.
Appliqué
If you’re wondering how to fix a worn-out blanket, appliqué may be the answer. Spread out the fiercely-loved blanket, mark your areas of needed repair, and then design an appliqué pattern that will restore durability and enhance beauty. You can think of appliqué as ornamental patching. Try adding designs or a favorite cartoon character.
Stitching
“Darn it,” your blanky has a rip! Small tears and loosened seams can usually be sewn up quite easily, but when the wubby is woven, a blanket repair can get a little tricky. Don’t fret; your silky can be saved! If the repair area is small, you can most likely use YouTube to learn how to do a blanket stitch and do it yourself.
If you are not “hooked” on the yarn arts, you should be able to find a knitting or crocheting enthusiast near you who can help. Depending on the severity of the hole and the availability of yarn, invisible repairs might be possible. For more advanced repairs, you can work together to establish the desired finished look.
Dismantling
Sometimes your beloved blanket is beyond repair, but not beyond hope. Sewn blankets (not woven, like knit or crocheted pieces) can be dismantled and repurposed.
You can try to reproduce the existing blanket, combine it with other blankets, add pieces from commemorative t-shirts, or add a backing and quilt it. Dismantling provides even more options for creating a new blanket treasure.
Minky Repairs
Even though minky fabric is sumptuous and luxuriously soft yet incredibly durable, it too can fall victim to the wear and tear of lots of love. As with your other solid fabric blankets, small tears in your minky binky can be sewn or patched. You can use other scraps of minky fabric to cover worn spots and create a new design.It’s best to use a darning mushroom when repairing minky fabric and take care not to stretch it. Let it lie naturally on the mushroom. (Don’t have a darning mushroom? You can substitute a lightbulb!) Start your mend at the back of the fabric, and pull the thread through gently.
When your repair is complete, and you tie the knot, massage the knot to soften it and blend it with the rest of the minky fabric as much as possible.
Save the Softness
The appeal of blankets, especially minky blankets, is the soothing softness. Your blanket is still comfy, but just not as soft. Like a scratch on your favorite record, you can still hear the music, but it just doesn’t sound as good.
You can keep your blankets soft by avoiding heat at all times, even in the laundering process. Use gentle detergents and no fabric softener to prevent waxy build-up.
Smooth Out the Rough Spots
If your blanket does get a little rough, you can make it soft again. Wash it on a gentle cycle with a bit of vinegar and then line dry or tumble dry on a no-heat setting. There may be a slight fragrance of vinegar when you take it out of the washer, but it will dissipate in a short time.
Six Basic Steps of Blanket Repair
As with all things in life, don’t let the thought of doing a blanket repair overwhelm you. Just take it one step at a time, and you’ll do a superb job. Here’s a simple breakdown:
- Lay the blanket out flat so you can see it in its entirety. If it’s a larger blanket, use a table or a bed.
- Mark the areas that need repairing using stick pins, sewing chalk, or a tailor’s pen.
- Choose your desired type of repair. You can keep this simple or get elaborate.
- Pick out materials needed, like fabrics, thread, or yarn.
- Make your chosen repairs.
- Launder the blanket as dictated by fabric and design; air-dry and double-check your repairs to make sure they’re sound.
Here’s What You Need
Basic blanket repairs require specific tools, equipment, and materials. Some items you should have on hand are:
- Sewing shears or fabric scissors
- Stick pins in various sizes
- Needles
- Tape measure
- Yarn, fabric, iron-on patches
- Thread
- Crochet hook or knitting needles
Is Your Blanket Beyond Repair?
Has the blanket been loved to literal pieces and scraps? It may be time for a new treasure and tradition. Replace it with something like an heirloom quilt or a so soft and sweet minky blanket.
As much as you might like to salvage the old blanky, it may be time to move on to something new and avoid the stress of repairing it. Check out Sew Sweet Minky Designs and buy your own next favorite minky blanket, and get one for someone you love.
Not sure what to get or how to get it? Contact us, and we’ll give you a hand!

Share:
What Is a Swaddle Blanket?
How To Remove Annoying Hair From Your Favorite Blankets